If you’ve ever sat in front of a new aquarium with a pile of individual plant stems and a pair of tweezers, you know that “day one” of a planted tank can be exhausting. Your back hurts, the plants keep floating up, and by the time you’re done, the water is cloudy.
But there is a better way. I call it the “Drop and Grow” method, and it centers around the Wabi-Kusa.
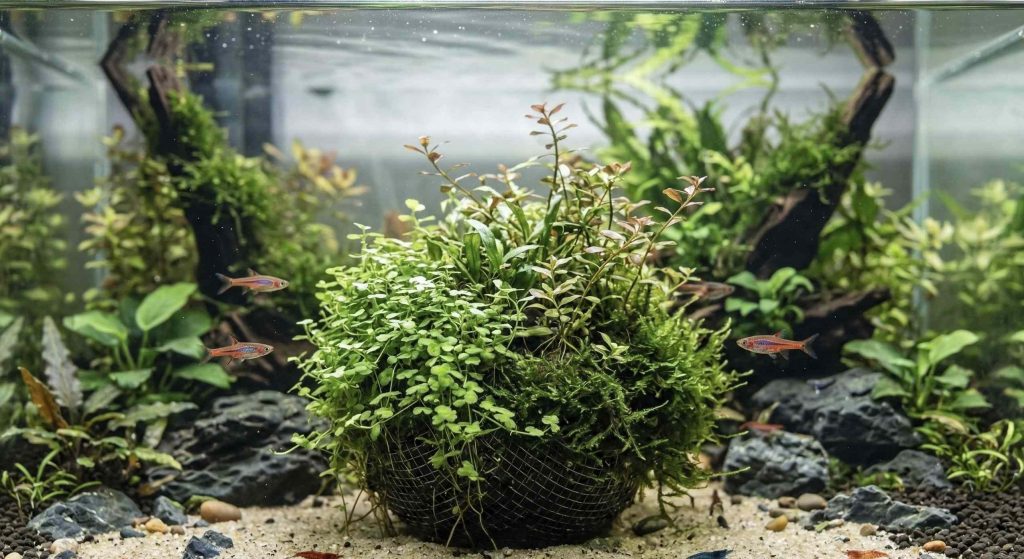
In the aquarium hobby, a Wabi-Kusa isn’t just a decorative bowl—it’s a pre-grown ball of substrate and plants that you place directly into your tank. It’s like buying a piece of a finished aquascape and just dropping it into place.
Why Use Wabi-Kusa in Your Tank?
When I first started using Wabi-Kusa in my aquarium builds, it felt like I was cheating. Here’s why I’m obsessed with this method:
- Instant Density: You aren’t waiting months for stems to fill in. You’re starting with a thick, healthy bush of plants on day one.
- No “Floaters”: Since the plants are already rooted into a weighted substrate ball, you don’t have to worry about your fish or your filter current uprooting your hard work.
- Root Health: Traditional planting can damage delicate roots. With Wabi-Kusa, the roots stay protected inside their “bio-ball,” leading to zero transplant shock.
- The “Nature Bomb” Effect: You can move them around like furniture. Don’t like that patch of Rotala in the left corner? Just pick up the ball and move it to the right.
What You’ll Need
To do this right, you only need a few things:
- Wabi-Kusa Balls: You can buy these from my shop or make your own using a mix of aqua-soil and moss.
- Aquarium Soil: Even though the plants have their own “ball,” I recommend a thin layer of substrate on the bottom of your tank to help the roots eventually spread out.
- Your Aquarium: This works in anything from a 5-gallon nano to a 100-gallon show tank.
My Favorite Plants for “Aquarium-Style” Wabi-Kusa
When choosing plants for a ball that’s going underwater, you want species that transition smoothly.
| Plant Species | Aquarium Role | Why it works |
| Rotala rotundifolia | Background Bush | Transitions beautifully and grows incredibly dense. |
| Ludwigia palustris | Midground Color | Adds a pop of red/orange as it hits the light. |
| Hygrophila pinnatifida | Texture | It will “grab” onto the Wabi-Kusa ball and look very wild. |
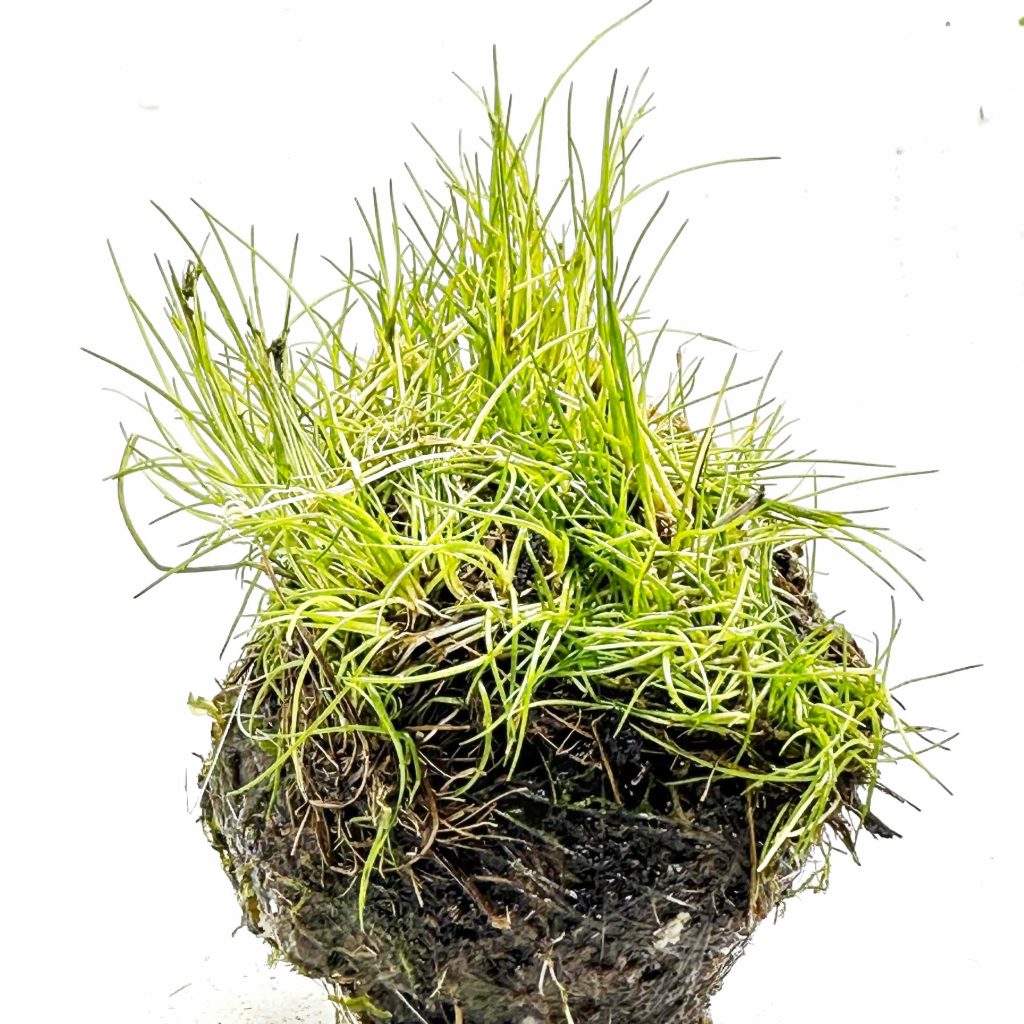
| Monte Carlo | Foreground/Drape | It will eventually grow off the ball and carpet your tank’s floor. |
Pro Tip: Not sure which species to mix? I’ve got a full “Recipe List”
:Wabi Kusa Wonders: Tiny Substrate Ecosystems for Your Tank or Terrarium
How to Set Up Your Tank with Wabi-Kusa
1. Prep the Ball
If you bought your Wabi-Kusa emersed (grown out of water), give it a good rinse. If you made your own, ensure the moss wrapping is tight so it doesn’t unravel once it hits the water.
2. The “Drop”
Place the Wabi-Kusa balls directly onto your tank’s substrate. You can partially bury them if you want a seamless look, or leave them on top if you want them to look like little islands of green.
3. The Transition Phase
Since most Wabi-Kusa are grown in the air (emersed), the leaves will look a bit different once you submerge them. Don’t panic if you see a little “melting”—this is just the plant shedding its “air leaves” to grow “water leaves.”
My Secret for a Smooth Transition:
- CO2 is your friend: If you have it, turn it up slightly for the first two weeks.
- Frequent Water Changes: I do 30% every other day for the first week to remove any nutrients leaching from the fresh substrate balls.
Maintenance: Keep it Simple
The beauty of the Wabi-Kusa method is that once it’s in the tank, it’s just like any other planted aquarium—only easier.
- Trimming: Because these plants grow so densely, you’ll need to trim the tops every few weeks. This keeps the bottom of the bush from getting shaded out.
- Fertilizing: The substrate ball will provide nutrients for months, but eventually, you’ll want to start adding liquid fertilizer to the water column.
Final Thoughts
Using Wabi-Kusa in an aquarium is about working with nature instead of trying to control every single stem. It’s the perfect method for someone who wants a professional-looking “Nature Aquarium” without the steep learning curve of traditional planting.
Drop a ball in, watch it grow, and enjoy the view.