Hey everyone! If you’ve spent any time in the aquarium hobby, you know that as soon as you say “I want to start a planted tank,” you get hit with a mountain of conflicting advice. One person swears by expensive specialized soils, another says they grow everything in plain old gravel, and someone else is trying to convince you to put actual dirt from your backyard into a glass box.
It’s enough to make your head spin. But here’s the thing: substrate isn’t just “aquarium dirt.” It’s the foundation of your ecosystem. Today, we’re going to get to the bottom of the substrate mystery. We’ll talk about water column feeders versus root feeders, the technical side of “CEC,” and why your local tap water might be the secret reason your plants are struggling.
Water Column Feeders vs. Heavy Root Feeders
Before you drop £100 on a fancy bag of clay balls, you have to know what you’re actually trying to grow. Not all plants “eat” the same way.
- Water Column Feeders: These are plants like Anubias, Java Fern, floating plants, and many stem plants (like Rotala or Hornwort). They take the majority of their nutrients directly from the water through their leaves and stems.
- Heavy Root Feeders: These are the “hungry” plants. We’re talking Amazon Swords, Vallisneria, Cryptocorynes, and high-end carpeting plants like Dwarf Baby Tears. These guys want their “food” delivered directly to their root systems in the ground.
The Strategy: If your tank is 90% Anubias and Java Fern, buying a nutrient-rich active soil is honestly a bit of a waste. You’re paying for nutrients in the ground that your plants aren’t even reaching for. But if you want a lush carpet of green or massive Sword plants, the substrate becomes your most important investment.
Breaking Down the Options: From Dirt to High-Tech Soil
1. Active “Aqua Soils” (The Premium Route)
Products like ADA Amazonia or Seachem Aquasolum are essentially baked clay and organic matter. They are “active” because they actually change your water chemistry.
- The Pros: They are packed with nitrogen and minerals right out of the bag. They also tend to lower the pH and soften the water, which many tropical plants (and shrimp!) absolutely love.
- The Catch: They don’t last forever. Think of it like a battery. After 1–2 years, the “charge” (nutrients) runs out. At that point, you either have to supplement with root tabs or swap the substrate.
2. The “Dirted” Tank (The Old School Method)
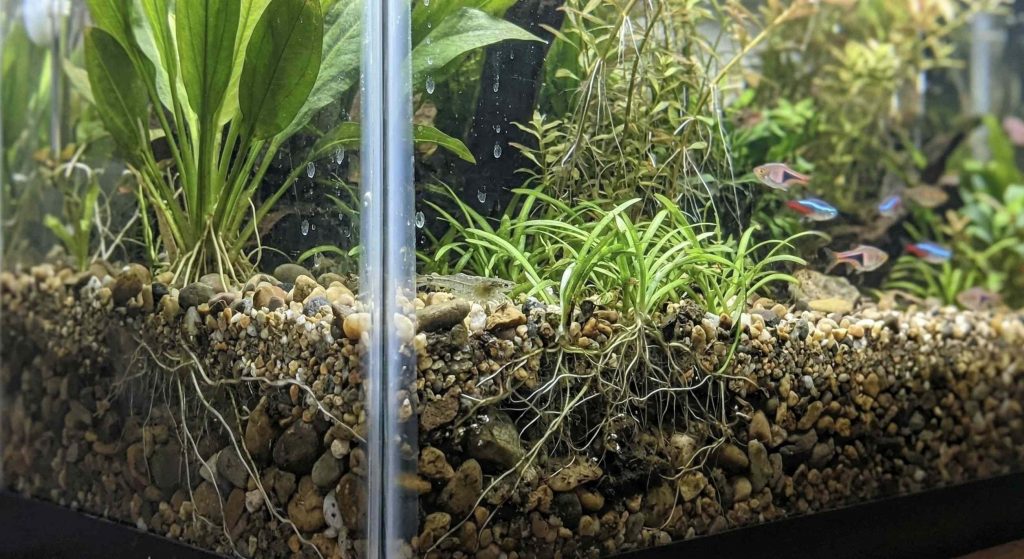
This involves a layer of organic potting soil capped with sand or gravel.
- Why it works: It’s incredibly cheap and mimics a natural pond bottom.
- The Reality Check: It’s messy. If you ever need to pull a plant out to move it, you’re going to end up with a mud cloud that looks like a chocolate milkshake. Like aqua soils, dirt eventually runs out of steam and needs to be “re-mineralized.”
3. Inert Gravel and Sand
Standard aquarium gravel doesn’t provide any nutrients, but it’s not useless.
- Sand: Be careful here. Very fine sand (like play sand) can compact so tightly that roots can’t breathe, and “dead zones” can form.
- Gravel: While it doesn’t feed plants, it’s easy to clean. If you use gravel, you must use root tabs—small fertilizer spikes you bury near the plants—to turn that “dead” gravel into a “live” growing medium.
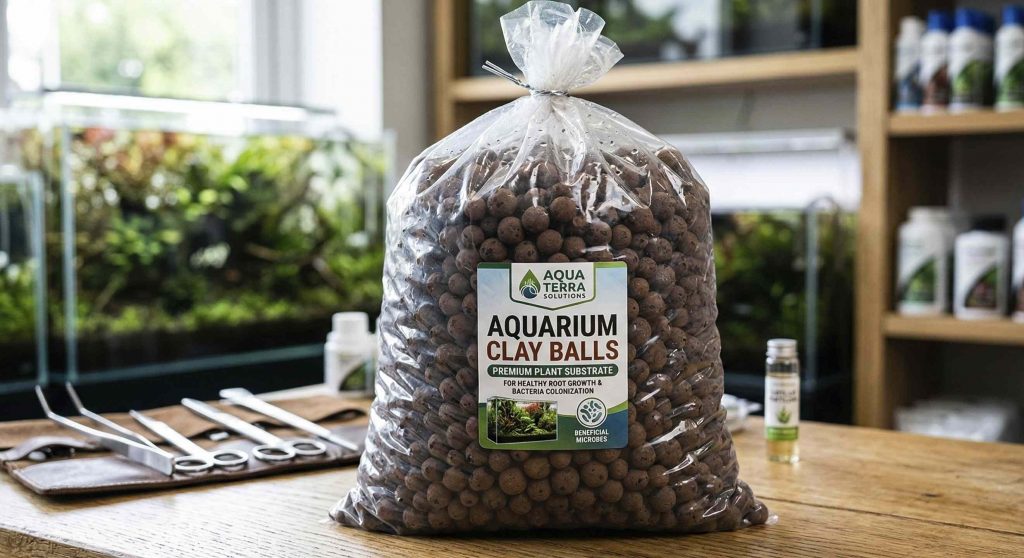
4. High CEC Substrates (The Middle Ground)
Products like Eco-Complete or Fluorite are interesting. They might not have a ton of nutrients initially, but they have a High Cation Exchange Capacity (CEC). This is a fancy way of saying the substrate acts like a magnet. When you put liquid fertilizer into the water, these substrates grab those nutrients and hold onto them, making them available for the roots later.
The “Secret” Ingredient: Your Local Water
This is the part most hobbyists skip. You can’t choose a substrate without knowing what’s coming out of your tap.
If you live in a place like Seattle with very soft water (low minerals), using an active soil that further softens the water can actually crash your mineral levels. Your plants might start showing holes or yellowing because they lack calcium and magnesium. On the flip side, if you live in Texas or the Midwest with “liquid rock” tap water, you probably don’t need to add mineral-heavy substrates like crushed coral or aragonite.
The Mix-and-Match Approach:
Sometimes the best substrate is a “cocktail.” If you have soft water, mixing a little bit of mineral-rich substrate (like Gray Coast or crushed coral) into your plant soil can provide the calcium and magnesium your plants crave while the soil provides the nitrogen and iron.
Long-Term Maintenance: Preventing the “Crash”
No matter what you choose, an aquarium is a closed loop. In nature, new minerals are washed into rivers by rain. In your tank, you have to be the rain.
- Year 1: Enjoy the growth from your fresh substrate.
- Year 2+: Start using Root Tabs. These are essential for re-invigorating old soil or dirted tanks.
- The Fish Poop Factor: Over time, fish waste works its way down into the cracks of the gravel. This eventually turns “inert” gravel into a nutrient-rich “mulm” layer that can actually support plants for years.
Summary
There is no “perfect” substrate that works for everyone. The key is matching your substrate to your plants and your specific water chemistry. Don’t feel like you have to spend hundreds of pounds to be successful—just have a plan for how your plants are going to get their dinner!
Pro Tips
- Pro Tip 1: If you’re using a “soil-based” substrate, don’t use a gravel vacuum deeply. You’ll suck out all the expensive nutrients and create a muddy mess. Just lightly swirl the vacuum above the surface to pick up loose debris.
- Pro Tip 2: For heavy root feeders like Amazon Swords, place a root tab directly under the base of the plant every 3–4 months. You’ll see a massive explosion in leaf size compared to just using liquid fertilizers.
- Pro Tip 3: When first filling a tank with aqua soil, cover the substrate with a plastic bag or bubble wrap before pouring water in. This prevents the water flow from churning up the dust and keeping your tank cloudy for a week.